
Basic Glass Engraving Tips and Techniques
CO2 Lasers don’t have the ability to cut glass, but they do have the ability to create incredible etchings. The CO2 laser creates micro-cracks in the glass creating a white, frosted-look on laser engravings. Also, with features like the 3D Camera combined with the Rotary (and Riser on the Muse Core and 3D Autofocus), you can create detailed and contrasting CO2 laser etching on glass.
Properties
Glass is created primarily from silica (sand). Other minerals can be melted with the silica to give the glass different colors and characteristics. The way the laser reacts to glass is much different than most other materials, as the laser is not removing material but creating heat reactions that expand the material creating microfractures on the surface of the glass.
Many types of glass use metal (most commonly leaded crystal). These metals can interfere with the lasers’ ability to mark the glass. For laser cutters, less expensive common glass (soda ash glass) works best. This includes most consumer glass such as your average dollar-store glassware. CO2 laser glass etching on less expensive glass will usually have better results due to their lower metal content.

Applications
Soda-ash glass is the most common type of glass and includes flat glass, glassware, and pressed/molded glass. With Flat glass (AKA plate glass or sheet glass), you will get a flat pane of glass that you can use to engrave and etch, and is most commonly used in windows and picture frames. Glassware is also great for laser marking and includes drinking glasses, beer mugs, wine/champagne glasses, shot glasses, and more. Then there is Pressed/Molded Glass, which is uniquely shaped as it is usually pressed into molds during the heating and shaping process.
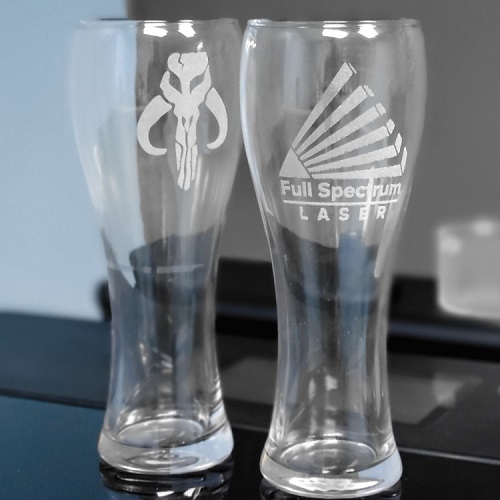
Etching glass turns a normal piece of glassware into a special showcase piece that can commemorate any occasion. Add logos, names, promotions, celebratory dates, graphics and custom designs to glassware, bottles, jars, mirrors and more. There is always a high-demand for custom glass etching, and the return on investment can be rather high, especially if you have customers who supply their own materials.
 Considerations
In your laser engraver, glass will behave differently than other materials and each piece of glass can have a slightly different reaction to a CO2 laser. Bottles and glasses are popular items to laser engrave, but their shape prevents the laser from focusing properly across the entire surface. For situations like this, rotary attachments are the perfect solution, as they keep the laser focused at one length the entire job by turning the bottle or glass along the Y axis (so the laser head will only move back and forth along the X axis . Since your CO2 laser glass etching is accomplished by creating microfractures in the glass, there is always a small chance that the glass may break as your laser etches the surface. Make sure to take all the proper safety precautions and never leave the laser unattended during the etching process.
Please note: It may be tempting to run your thumb or finger across the freshly etched glass. Do not touch the etching until after you have cleaned it first so you can avoid getting any glass splinters in your skin. Cleaning can be done by running the glass under lukewarm water and using a soft brush like a toothbrush. Just wait until the glass is completely cooled down before putting it under the water.
Approach
Always purchase extra glass if you are able to do so for testing purposes. Testing your laser etching power setting on glass is critical since the outcome is sensitive and has a smaller window for success than regular materials. The power settings are going to be where you make the most fine tuned adjustments. Dial in your settings until you get the best contrast with an even frosted appearance.
If you need to refine your results, and the CO2 Laser is not giving you the fine results that you need, consider using a UV laser instead. A UV Laser system like the Muse UV Open Galvo, will produce more detailed results.
 Finishing Tips
- Removing Debris: Use a small brush, like a toothbrush or stiff bristle paint brush, to remove any glass shards that are clinging to the surface of the glass.
- Cleaning: Use a small amount of rubbing alcohol or isopropyl alcohol with a paper towel to clean any oils or smudges. This can affect any coatings or painted details, so use caution when working near those.
- Adding Color: The frosted look can sometimes hide details in the engraving. There are paints that work well in filling in the gaps of the engraving and then easily wipe away the excess top layer. “Rub’n Buff” is a brand of wax metallic finish that you can apply to the engraving, then buff it out to get a nice metallic fill like gold or silver.
There is a lot of potential when it comes to CO2 laser glass etching. With these basic glass engraving tips and techniques, the options are nearly endless. So whether you are looking to add a little flare to your own projects, or if you are producing high quality gifts and materials to sell, a CO2 Laser will expand your capabilities. And don’t forget, if you want to take your glass etching and engraving to the next level, consider the Muse UV Open Galvo system with the 5W source.
Full Spectrum Laser is a leader in easy to use, highly versatile laser cutting and laser engraving machines. Our systems range in size from desktop units and high-volume machines through industrial-grade production equipment. Our machines are running all over the world: from grade schools to National Labs, garage startups and many Fortune 500 companies. Contact us today to learn more.