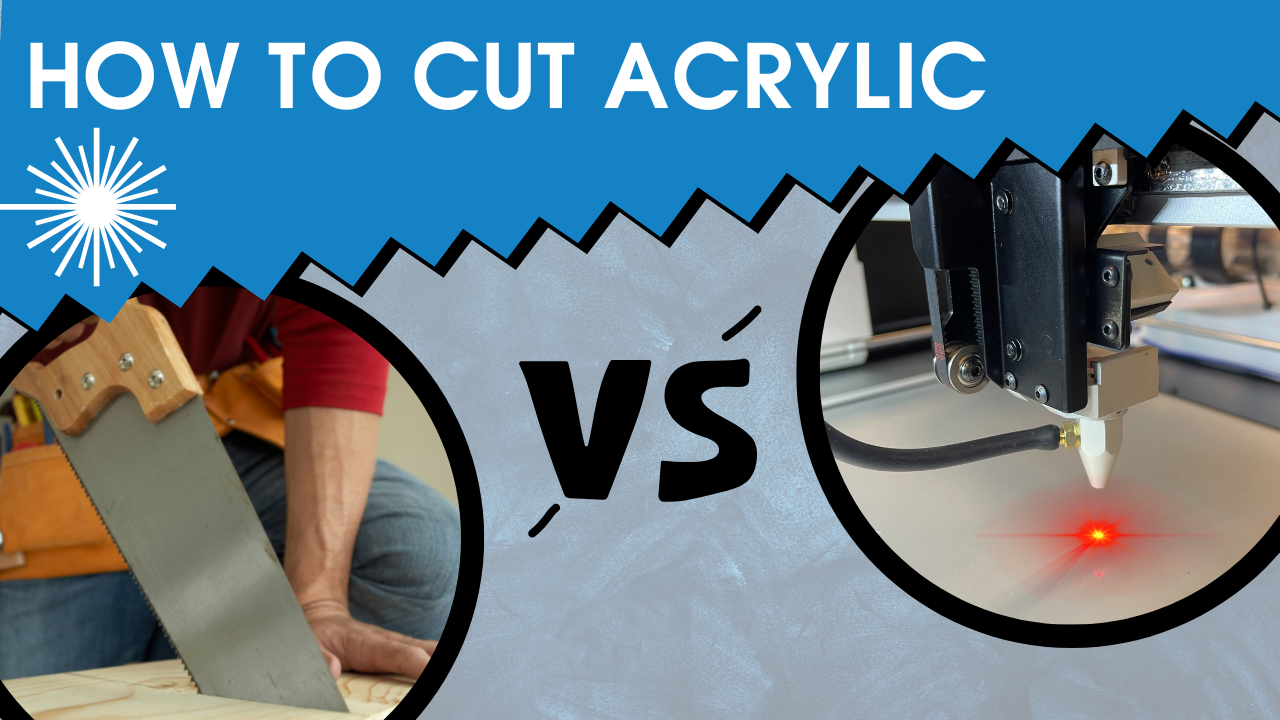
If you’re looking to do a simple straight cut into acrylic, just add a little elbow grease and any sharp saw will do! You can even run a razor blade down a piece of acrylic to score it. Once scored you can snap it at the score to get a decent straight edge. Now, if you are looking to cut a more detailed shape outside of a straight line, a laser is the tool for the job. Cutting acrylic with a laser is one of the best, if not THE best way, to cut acrylic. The types of lasers that can cut this material are known as CO2 lasers (like the MUSE CORE). Other lasers, like fiber lasers, cannot cut acrylic. In fact, they pass right through clear acrylic without even affecting it. Acrylic is one of the most common materials when it comes to using CO2 lasers due to how clean these cuts come out. With so many applications and the precision that lasers have to offer, it’s no wonder they are a good match for when it comes to cutting. In short, here’s “How to Cut Acrylic” ...WITH A LASER!
The Benefits
The DETAIL! THE CLEAN EDGES! OH MY! Cutting acrylic with a laser is a bit mind blowing the first couple of times. The results really speak for themselves.
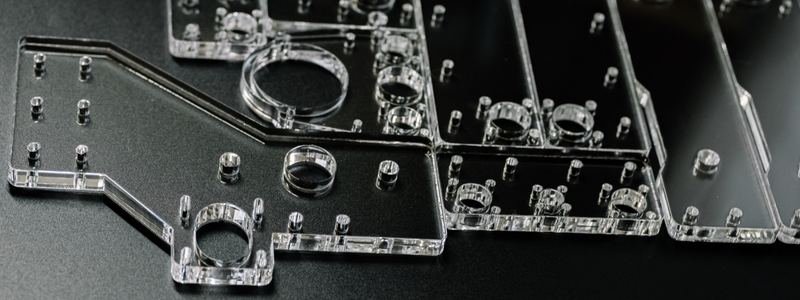
When using a laser (concentrated heat) to cut acrylic, the edges come out crystal clear. This is important to state because other ways to cut this material like CNC routers, cut acrylic well, but the edge is not crystal clear and you cannot get the same detail. CNC routers leave a gnarled frosted edge due to making contact with the material. On the other hand, laser cutters do not make physical contact with material. They shoot an invisible beam of concentrated light that vaporizes the material. This leads us to Kerf. Kerf is probably a new word for some of you, so let's explain!
Kerf is the width of a cut made by a saw or cutting tool. Think of yourself using a hand saw to cut material. The channel that the saw makes to pass through the material is its kerf. With traditional cutting tools like saws, including CNC routers, the kerf is determined by the thickness of the tool cutting it.
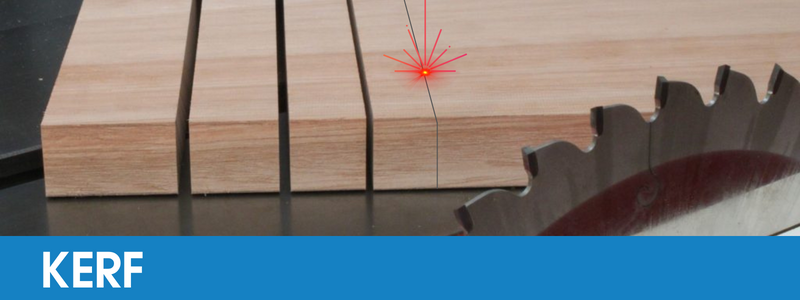
Now that you know what kerf is, you might be thinking to yourself; “What is the kerf of a laser?” A laser’s kerf is determined by several factors - some of the factors that determine the kerf of a laser are focus, the type of lens you have, your material, the materials thickness, and power settings. Some lasers need to be manually focused, which can add human error and keep you from getting the best cut possible. However, features like autofocus remove human error from this equation. Laser cutters like Full Spectrum Lasers’ MUSE 3d and MUSE TITAN, come with an auto focus feature that is not only mechanically checking the focus, but also double checking it with the functions of their built-in 3D cameras.
Along with the auto focus and other variables considered, dialed in laser kerf can be as small as the width of a human hair. “A HUMAN HAIR YOU SAY!?” Yes, human hair! If you like numbers, it is .001 inch or 0.0254 mms, for our friends across the pond.
Now that the idea of a laser being the best tool for cutting acrylic is growing on you, let’s comb through the next subject; Acrylic applications.
Common Applications
Acrylic comes in all sorts of colors, transparencies, and thicknesses. This is why it is such a great material for so many applications. Acrylic not only comes in solid colors but also comes in different opacities. This is why you see it commonly used in conjunction with LED lights to create beautiful signage and other illuminated projects.
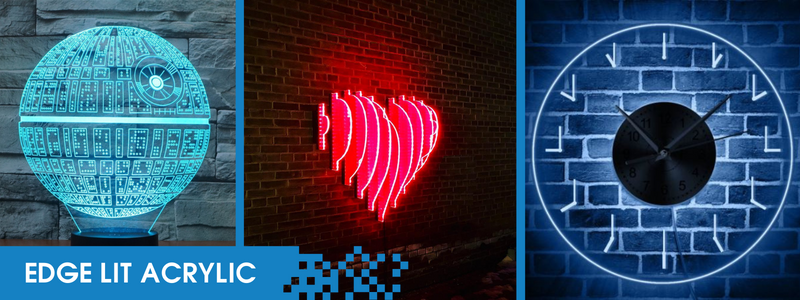
If you're interested in seeing some of our free acrylic projects, please take a look at our free projects page for files! (Or just to get a little inspiration.)
When creating illuminated acrylic projects, the cutting of the acrylic is very important. Lasers don't only cut, but engrave as well! When you engrave acrylic, lighting up the edge of a project can be something truly unique, very hard, and time consuming to do with any other tool available.
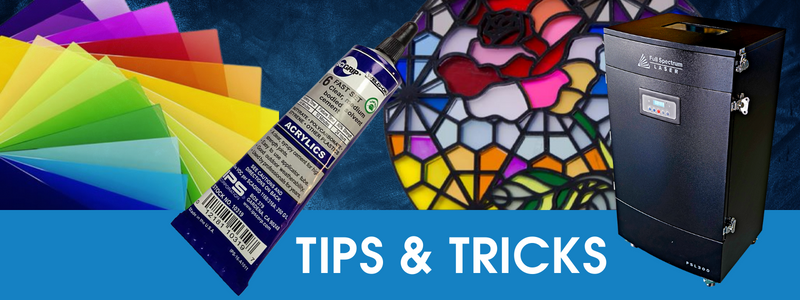
Tips & Tricks When getting started with acrylic
-Know the difference between transparent and translucent. This will save you time and money when looking for the correct acrylic for your application.
-Want a smooth cut? You can slow your laser speed down and or reduce the airflow of your air assist. This will melt the edge even more to make it as polished as possible!
-Super glue is not your friend. For solid bonds and the cleanest projects, use acrylic weld to join acrylic pieces together.
-Exhaust your fumes. Cutting acrylic with a laser can put off a strong odor, so exhaust properly or invest in a fume extractor like the FSL300.
-Learn how to bend acrylic. If a project calls for it, learning to bend acrylic can add a whole new dimension to your making process and can save on time and money!
And most importantly! Be safe, have fun, and keep making.
Tips & Tricks: Cast VS Extruded
Cast Acrylic
Best for engravings as it leaves a smooth, shiny edge on vector cuts, a distinct “frosty” look with engravings and has great optical qualities. On the down side, cast acrylic can be uneven and it is more expensive than extruded acrylic.
Extruded Acrylic:
Cheaper than cast acrylic, with no change in engraving color. In addition, because of the way it is manufactured, extruded acrylic is much more consistent in thickness and flatness.
Full Spectrum Laser is a leader in easy to use, highly versatile laser cutting and laser engraving machines. Our systems range in size from desktop units and high-volume machines through industrial-grade production equipment. Our machines are running all over the world: from grade schools to National Labs, garage startups and many Fortune 500 companies. Contact us today to learn more!
