DIY Laser Cutter: Building a Robot Project
When you are working with a laser cutter and engraver, sometimes the most difficult part is the creative aspect. A common scenario: you have an amazing idea, but when you sit down and try to put it onto paper (or your design software), you encounter roadblocks and your mind blanks which can put a stop to those great initial ideas you may have. Good news is, if you should run into this type of issue, there are DIY laser cutter tools out there that try to push you past this and help your creative ideas come to life.
One of those DIY tools that we offer to help you expand your laser knowledge and move to idea creation is a large catalog of free projects. This catalog includes projects that range from simple and easy, to difficult and time intensive. Just about every month, free projects are added to our catalog, expanding what is offered and diversifying the options.
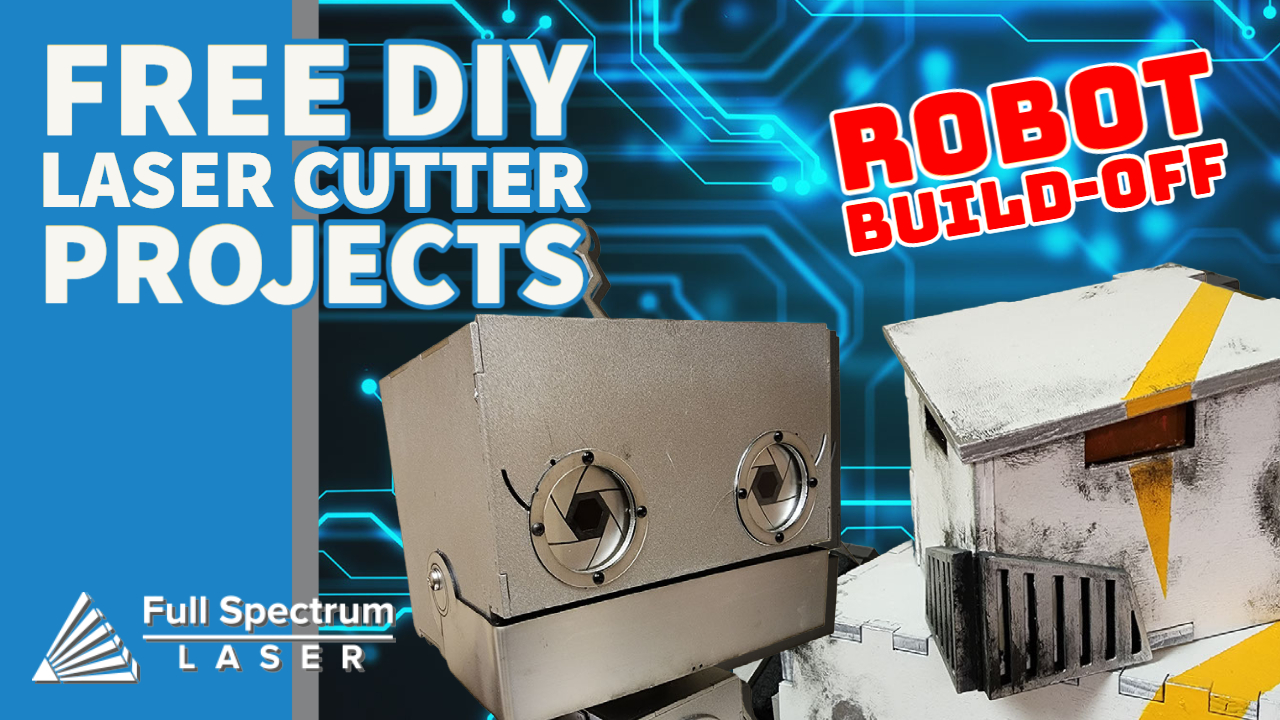
DIY Laser Cutter: The Robot Build-Off
One of the segments that we plan to include quite frequently on our bi-weekly Live Show (Inside the Laser Lab) broadcast is called 'Laser Build-Off'. In this segment, makers at Full Spectrum Laser will go head to head and put their creative skills to the test as they compete to see who comes up with the best project output. Each Build-Off will be unique, and will feature a variety of competing projects that can range in size and difficulty. These projects can be made using different materials, possibly across a range of laser cutters and engravers for creation and completion.
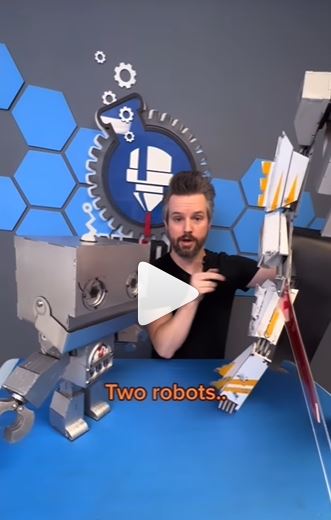
Our Live Show broadcast dated Sept 14, 2022 featured FSL's Walker McKeag and myself (Travis Richards) on this segment. We went head to head in a building competition where we designed and created our own robots. The rules in this particular Build-Off were practically non-existent. The only real requirement was that we only had one week to completely design, laser cut, assemble, and paint our robot. This prevented the builds from being overly extravagant. As expected, both finished builds varied in design style, materials used, and final project size.
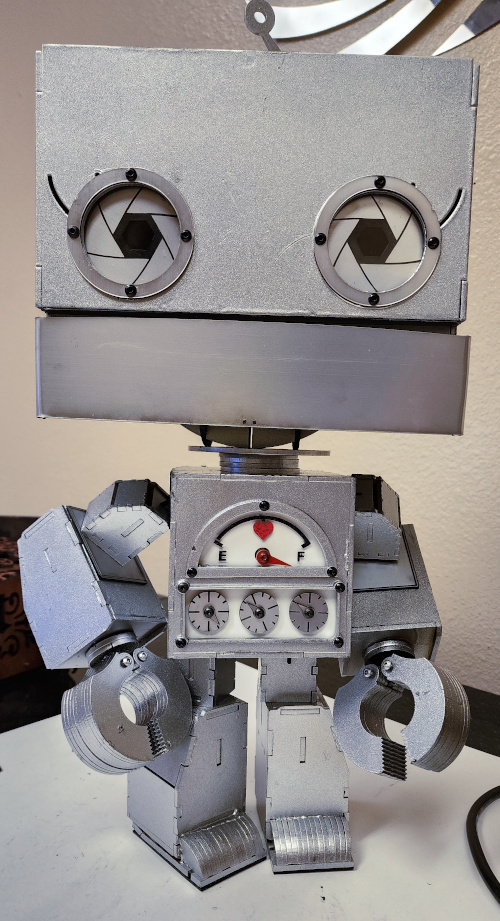
DIY Laser Cutter: Walker’s Robot Project

Laser Cutter and Engraver used: Muse Titan (CO2 Laser)
Walker’s project is predominantly made of eighth inch thick acrylic plastic. The overall standing height of the robot is 17 inches tall (20 inches tall if you include the antenna on the top of the head). For an acrylic project like Walker’s robot, you’ll need some other things before starting your build. Aside from the sheets of acrylic plastic, you will also need to get some glue, paint, and bailing-wire prior to the assembly. If you have it available, it would be better to use an acrylic weld instead of super glue. Acrylic weld chemically interacts with the sheet of acrylic plastic, and essentially melts the two sides creating a bond that is similar to that of a metal weld. Super glue will work as well, but you must be very careful as it can easily create a fogging effect on the acrylic, which is very obvious to see, sometimes even after it is painted.
So if you don’t have a lot of space, and you want to give it a go, then head over to our free projects page and download the files. Once you complete the build, make sure to tag us with the #madewithfsl hashtag so we can check it out!
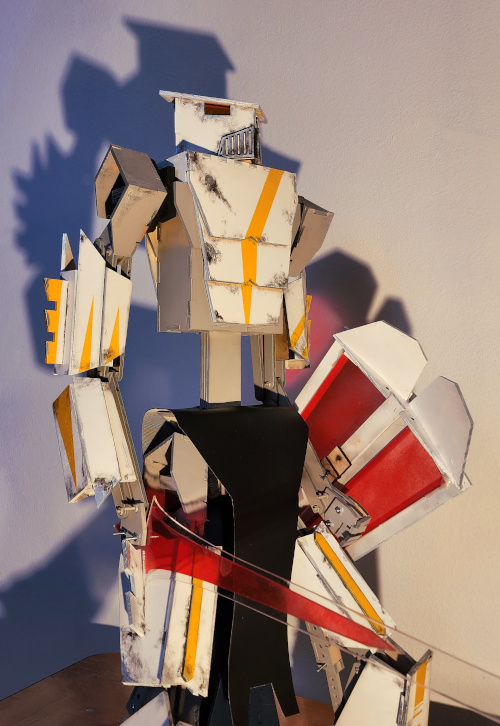
DIY Laser Cutter: Travis’ Robot Project

Laser Cutter and Engraver used: Muse Titan (CO2 Laser)
My robot was made almost completely out of quarter inch thick plywood. The overall standing height for the robot is 36 inches when in a balanced standing position. With the legs unlocked and in a straight and fully extended position, it reaches nearly 38 inches. If you chose to laser cut and assemble this robot, you will need to make sure you get a few things before you begin. Aside from several planks of quarter inch plywood, you will also need to get some wood glue, nuts and bolts, Loctite (or nylon locking bolts), and paint. Each joint is held together with the nuts and bolts (In my case, I actually used machine screws and bolts, but this was because it was the easiest to find in bulk). Care needs to be taken not to overtighten the joints, which will lead to too much friction and splintering the wood. This is where the Loctite or locking nuts are used, that way you can leave the joints to move as freely as you’d like without fear of the nuts coming too loose and falling off.
You can also use just the chassis and build your own armor plates to go onto it. If you decide to give it a shot and build it for yourself, make sure to tag us with the #madewithfsl hashtag so we can see your creation!
Creating pre-made projects may initially sound like you are taking the easy way out and not creating something original, but that’s not the case. You can use these free DIY laser cutter projects to learn how to use your laser and understand how builds like these come together. Just like with any other skill, making with a laser takes time and practice. As you learn how to use your laser cutter and engraver to make projects, you will find it much easier to turn your original ideas into something real. Just remember to stay safe and don't let your mistakes stop you!
Full Spectrum Laser is a leader in easy to use, highly versatile laser cutting and laser engraving machines. Our systems range in size from desktop units and high-volume machines through industrial-grade production equipment. Our machines are running all over the world: from grade schools to National Labs, garage startups and many Fortune 500 companies. Contact us today to learn more.


