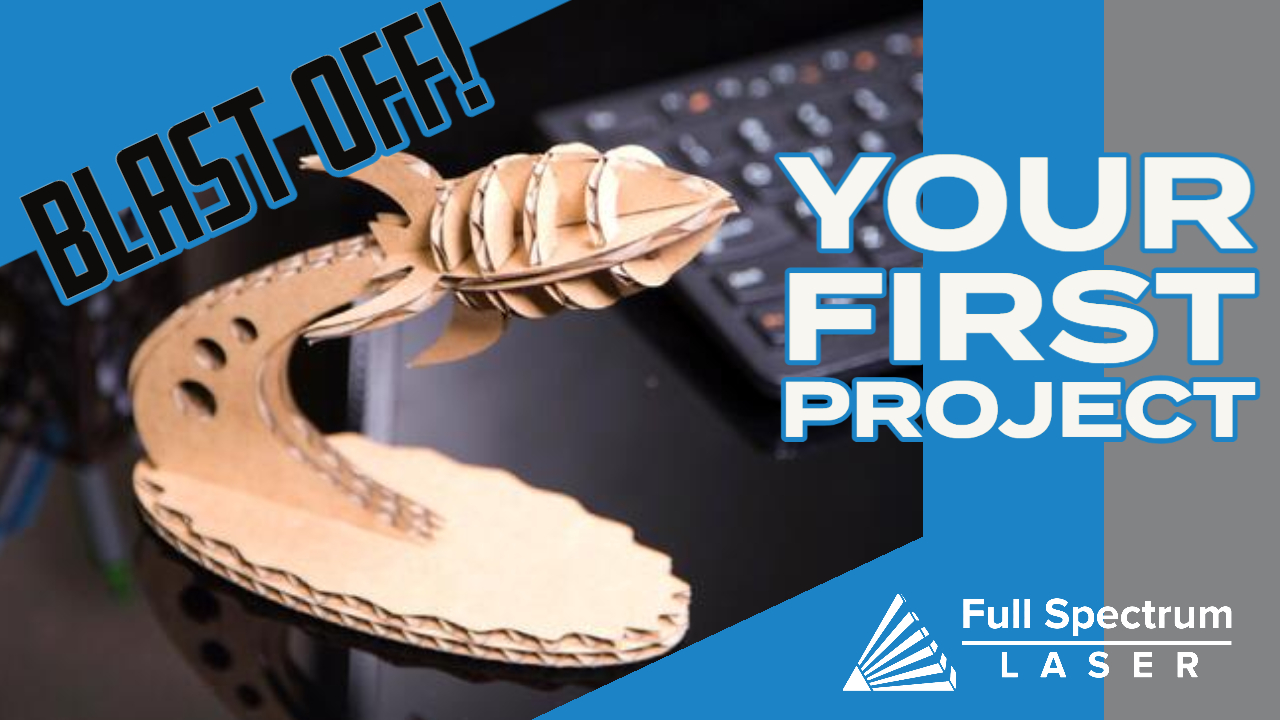
Your First Laser Cutter Project: First Steps
The anticipation has been building ever since you ordered your first laser cutter. Try not to get overwhelmed, as the things you need to do to begin are easy and you should be up and running in no time. Before you even get your new desktop laser cutter and engraver, make sure that you get your workspace set up and organized properly.
Many hobby laser cutters and engravers like the Muse 3D are desktop laser cutters and engravers, so you will want to make sure you have a desktop space ready. The first thing you want to do is clean the floor around the work area so that it is free of any tripping hazards like cables or materials. Organize any cables in a way that you can easily plug in and access the desktop laser and its components.

Make sure you desktop is large enough and can support enough weight. The Muse Desktop Laser weighs around eighty pounds, and then with all the accessories and materials you may have, you will need a table or desk that can support anywhere from 150 to 200 pounds. Make sure it is clean, and position it near your ventilation source (e.g., window, door, etc.). Place a fire extinguisher nearby, making sure that it is easily accessible, but not a tripping hazard.
Your First Laser Cutter Project: It’s Here!
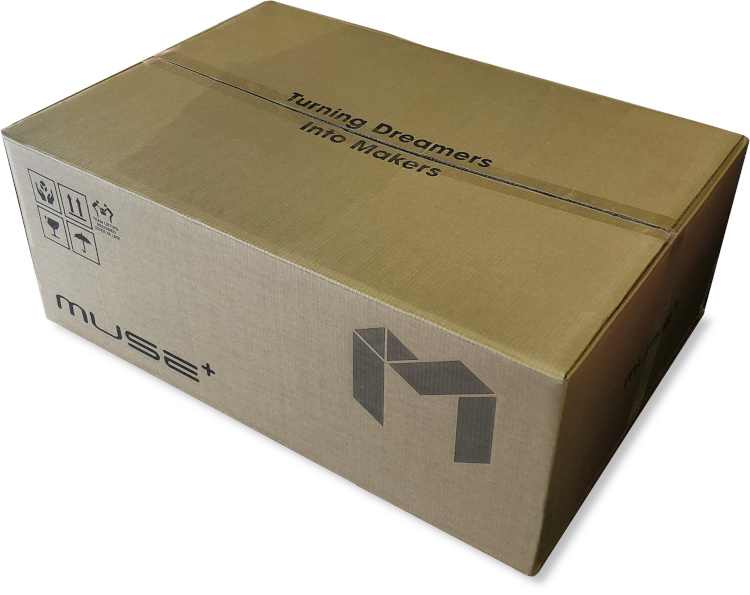 You’ve been eagerly awaiting the arrival of your new laser cutter and engraver and now it has arrived along with a whole new world of possibilities. If it requires extra movement, make sure you have another set of hands to help you move it. Team lifting is the best way to make sure you don’t hurt yourself, because if that happens, you might have to rest and push off starting your first laser cutter project.
Once you have the laser machine moved into your workspace, keep your second set of hands around to help you unbox and move the laser cutter and engraver. Carefully unbox and place your laser cutter in the workspace you have cleaned and organized for your laser cutting projects. Connect your water lines and air assist line, then fill your system up with distilled water. Make sure you have the laser cutting machine positioned in a way that will ventilate properly, and route any air ducting as necessary.
Now plug it in and turn it on! It’s time to start making!
Your First Laser Cutter Project: Getting Started
You’re anxious to start making awesome gifts and projects for your friends and family. Or maybe you want to start a new business or expand your existing business. Before you begin, you’ll need a “launching” point to develop your laser cutting skills and build confidence working with your new desktop laser cutter and engraver as well as the software that came with it.
Now you’re ready to start your first project!
Your First Laser Cutter Project: Initiate Blast Off!
Full Spectrum Laser offers many free laser cutter projects that you can use with your laser. This specific file below is perfect for new operators and it teaches you how to learn working with your brand new laser cutter and engraver. All you have to do is download the file then follow the step-by-step instructions. We recommend using cardboard for this first project since it is easy to find and you probably already have used boxes that can be broken down for the materials. You can even use the box that came with your laser cutter!
Step #1:
The first thing you’ll need to do is download the Blast Off (Rocket Ship) file. After the file download is complete, go ahead and import that into your laser software -- for the Muse laser cutter and engraver that is RetinaEngrave v3.0 Software (aka RE3). You can do this by selecting the “File” menu in the upper left corner, then select the “Image/Drawing” option from the “Import” sub menu. You will see a prompt discussing the vector and raster choice for PDF import. When you see this, make sure the “Vector” box is checked, then select “OK”. Now you should see all the shapes loaded into your workspace.
Safety First: Make sure you take all the proper safety precautions and NEVER leave your machine unattended. Please review all the information found in this video before you begin.
Step #2:
Now that you have the Rocket Ship file imported into the software, it’s time to cut it out! You’ll need to change the power settings for this project, otherwise the cardboard will just burn. On the Muse desktop laser machine with a 40W or 45W tube, the recommended settings for this project are 20 Power and 100 Speed (leave the current setting at 100).
Put your cardboard into the workspace. On the Muse, you can use the “run perimeter” function to make sure you place the cardboard correctly (or you can use the Camera Capture function if you have the Muse 3D Autofocus).
Double check your settings to make sure they are set at 20 Power and 100 Speed. If you have a Muse Core, use the included focus billet to make sure your laser is in focus (the Muse 3D will do this automatically). Now you are ready to cut and watch the laser do its thing.
Step #3:
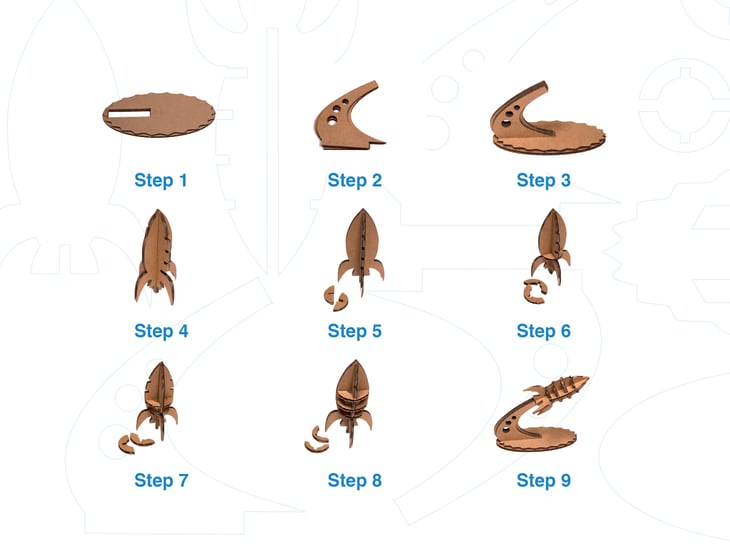
Now it’s time to put your project together. You can use the instructions included on this page to help you assemble your first project.
Congratulations!
You’ve just made your first laser project!
Now that you have an understanding of how the laser cutter works, go ahead and experiment with creating your own projects! Or if you’d like, you can browse our catalog of free projects.
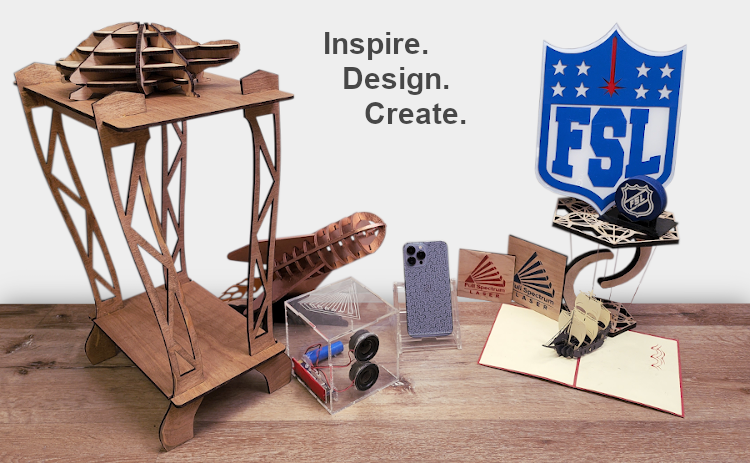

The Muse desktop laser cutter and engraver is the perfect tool to explore and expand your creativity. Use it to expand your business, take your art to the next level, or simply have fun building with your family. If you use the Muse laser cutter and engraver, make sure to use the #MadeWithFSL tag when you share your projects on social media. We’d love to see what you make!
Full Spectrum Laser is a leader in laser cutting and laser engraving systems. Our systems range in size from desktop units and high-volume machines through industrial-grade production equipment. Our machines are running all over the world: from grade schools to National Labs, garage startups and many Fortune 500 companies. Contact us today to learn more.
