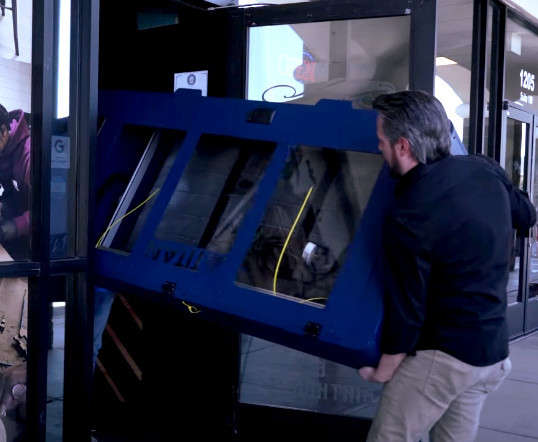
So you’ve purchased the best laser cutter and engraver, and you have installed it into your work area. Now what do you do?
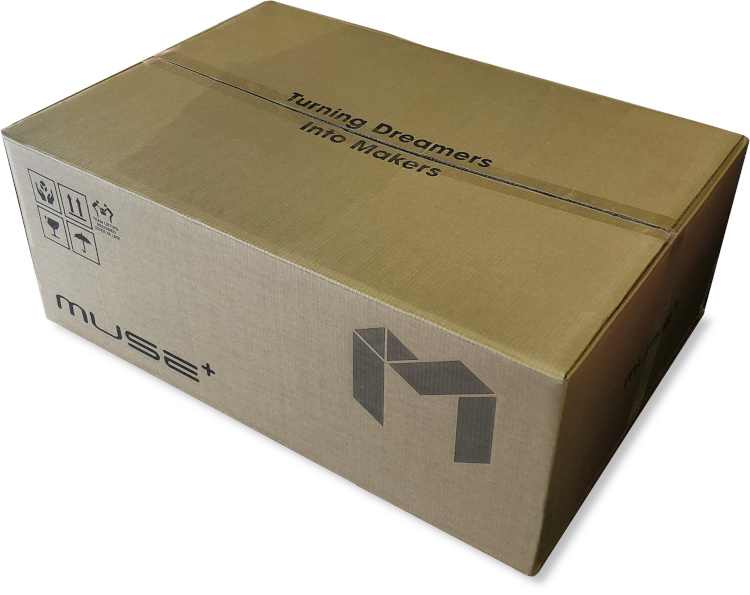
Well, you probably have some ideas of projects that you want to tackle, but you just don’t know where or how to begin. We understand that a laser machine can be rather intimidating at first but with these five things to do once you get your laser cutter and engraver, you should be able to start with confidence.
Here are the five things to do once you get your laser cutter and engraver unpacked and installed.
Examine the contents of your laser cutter and engraver shipment
The first thing you want to do is take a moment and look at everything that came with your laser engraver. Familiarize yourself with the tools that came with it, and make sure you go to download the quick start guide and manual. Everything is digital, so you can find all that information online.
After you’ve checked all that out, you’ll then want to examine the laser machine itself. Make sure you don’t see any dents or scratches that could indicate that it was mishandled during shipping. The shipping process is probably the most risky element that the laser machine will ever go through, so if you see anything wrong, make sure you contact support right away. There’s always a chance that the box and packing looked fine, but possible damage caused by shipping resonated through the packing materials and directly affected the laser.
If everything looks good then go ahead, connect it and fill with distilled water. Be sure to follow the manufacturer's instructions for setting up the water system. Firing a laser without properly setting up your water system can severely degrade or destroy your laser tube. Once you have the water running, just make sure you have no bubbles in the tube larger than the size of a pea.
Double check the optics
The next thing that we will want to do with our laser cutter and engraving machine is to double check all of the mirrors, the lens, and beam combiner. Your laser should have come with some tools. You’ll need the following for this step.
- Optical Lens Wipes
- Hex Keys (2.0 and 2.5)
- Thermal Paper
Once you have these tools gathered, check the alignment.
The laser tube that comes pre-installed in a Muse laser machine is carefully aligned at our facility in Nevada. There is always a chance that the optics have vibrated out of alignment during shipping, so if you do the alignment check and if it looks like you need to realign your laser, go ahead and make the adjustments.
Once you have verified that your laser cutter and engraver is aligned, use the optical grade lens wipes to clean your optics. Clean all the dust and any fingerprints from the lens and beam combiner, and make sure that your mirrors are 100% reflective. If it ever seems like your laser is losing power and is not able to cut or engrave as well as it used to, go ahead and follow these steps to check the alignment and clean everything. Many times, for Muse laser machines, this will correct the issue but if it doesn’t we have a dedicated support team available to help troubleshoot and figure out what next steps need to be taken.
Check any laser cutter and engraver accessories you received
Now that you have verified that your laser cutter is in working order, let’s check on any accessories you may have purchased along with your laser engraving machine.
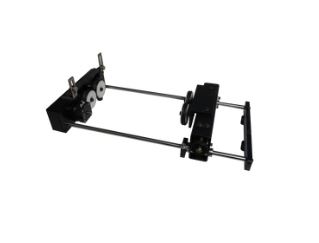
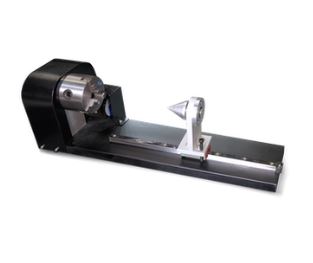
If you got a rotary attachment with your laser engraving machine, you’re probably excited to start engraving on some glasses or tumblers. If you got a friction rotary attachment, make sure that the rubber o-rings are clean of any dust and in good shape. These need to have enough friction to be able to turn the object. If it’s a very light cup and it doesn’t turn it very well, an idea is to get a bag full of rice and slip it into the cup. If you have a chuck rotary, make sure you have all the tools that you need to tighten and adjust the chuck, making sure that everything moves smoothly. Just be careful with the chuck rotary with glassware, since too much pressure can cause the glass to break easily.

If you purchased a fume extractor with your laser engraver, open every compartment and check every filter. Make sure that there is no plastic wrapping inside around the filters and that it is clear of any debris or packing materials. If you only got the exhaust fan with your laser cutting machine, then make sure the ducting is properly sealed and that it is routed effectively.
For smaller accessories, such as lenses and air cones, just make sure that everything is present and keep it in a safe place so it doesn’t get lost or damaged. Some of these components are very small, so they can be easy to lose.
Gather the laser materials for your laser machine
Now that you have verified that the laser and optics are aligned and that everything is in working order, it’s time to get all of your laser materials together. There are a few things to keep in mind when working with different laser materials on your laser cutter and engraver.
Make sure you buy enough so you can test to get the best results. This is especially helpful if you are working with materials that you haven’t worked with before. Hold onto any larger scraps from that material once your project is complete, that way you have some on hand for future testing.
Always check the Material Safety Data Sheet (MSDS). You are typically safe to cut and engrave woods and other organic materials, though there may be some materials that you don’t know or are uncertain. You can contact the material manufacturer and request an MSDS to make sure the materials you wish to use will be safe for you and safe for your laser cutter. There are many harmful chemicals out there and you will really want to avoid the ones that product Chlorine Gas or Cyanide Gas when burned.
Be creative
When all is said and done, you’ll have so much to do with your laser engraving machine that you won’t know where to begin. Just always remember to enjoy your craft and not to abandon creativity. It’s easy to find free projects and files and we have several that you can choose from, but don’t be scared to create your own. Even if you think your own creations aren’t good, just remember that it is good practice and it's likely better than you think. You know how the saying goes… You are your own worst critic.
Now go enjoy your new laser cutter and engraver!
We are here to help. If you have any questions, comments, or concerns, feel free to contact us at any time. Our technicians here at Full Spectrum Laser are standing by and ready to assist.
Full Spectrum Laser is a leader in laser cutting and laser engraving systems. Our systems range in size from desktop units and high-volume machines through industrial-grade production equipment. Our machines are running all over the world: from grade schools to National Labs, garage startups and many Fortune 500 companies. Contact us today to learn more.
